In our previous post, we introduced @media rule. In this post, we are going to give detail of media query breakpoint and responsive web design.
@media at-rule
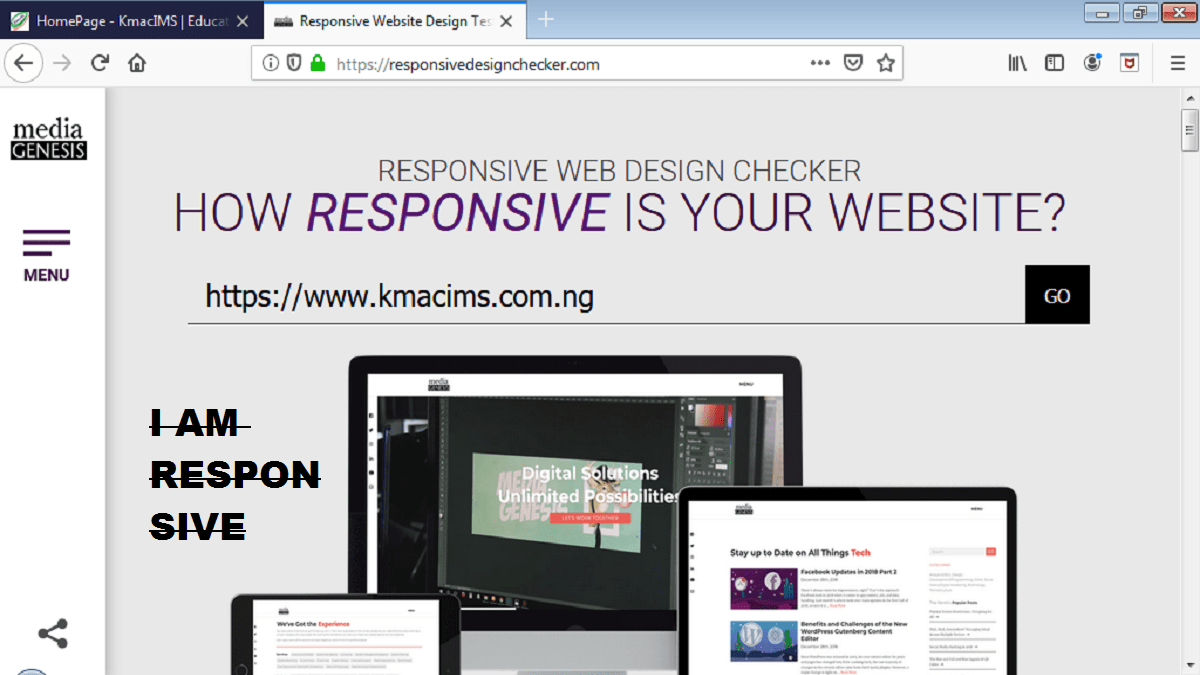
To create a responsive website, we use media query. This enables us to create breakpoints based on our layout to suit different device sizes. As explained above, 3 different device sizes may be targeted, namely phones, tablets, and desktops.
Media queries are logical expressions used to create different style rules. Using the @media and @import properties we can create different styles for different devices. These styles activate when the conditions are true.
When using media query, we can target 3 different things:
- media type only,
- media features only, or
- media type and media features.
To use the media query (@media property), the syntax is as follow for each:
- To target specific media types: @media media-type {css blocks}
For example:
@media screen{
  section{
    color: #00ff00;
    font-size: 16px
    }
}- To target specific media features: @media (media-features) {css blocks}
For example:
@media (max-width: 768px){
  section{
    color: #ff0c32;
    font-size: 14px
    }
}- To target both media types and media features: @media media-type logical-expression (media-features) {css blocks
For example:
@media screen, print and (min-width: 768px){
  section{
    color: #00ff63;
    font-size: 14px
    }
}
Media types
These are categories of devices that should be targeted. Media type could be any of the following:
all – Used to target all devices
print – This media type is used to target HTML pages viewed in print preview mode
screen – Is used to target different sizes of screen
speech – Is used to target speech synthesizers
Media features
These refer to the characteristics or attributes of the devices used by the users to access the web page. They are always enclosed in parentheses. The following are some of the media features that can be included in the @media rule-set.
aspect-ratio – is used to specify the width/height aspect ratio of the device’s viewport. Its value is in units of length. It can also take a min/ max prefix.
width – is used to target the width of the device’s viewport. Its value is in units of length. It can also take a min/ max prefix.
height – is used to target the height of the device’s viewport. Its value is in units of length. It can also take a min/ max prefix.
orientation – is used to target the orientation of the device’s viewport. Its value is either portrait or landscape.
resolution – is used to target the pixel density of the user’s output device. Its value is in dots per inch (dpi) or dots per pixel (dppx).
scan – used to target the scanning process of an output device.
grid – used to target a grid or bitmap screen device. Its value is either 1 for grid devices or 0 for other devices.
color – used to target the bits per color component of the output device. The value is an integer.
color-index – used to target the number of entries in the user’s output device’s color lookup table. Its value is an integer.
color-gamut – used to target the range of colors supported in the user’s output device.
monochrome – used to target the number of bits per pixel in the user’s output device’s monochrome frame buffer. Its value is an integer. It is 0 if the device is not monochrome.
display-mode – used to target the display mode specified in the web app manifest.
pointer – used to identify whether the primary input mechanism is a pointing device.
hover – used to determine if the primary input mechanism allows users to hover over an element.
There are many more features, including any-pointer, any-hover, inverted-colors, update, overflow-inline, overflow-block, light-level, prefers-reduced-transparency, prefers-contrast, scripting, and prefers-color-scheme.
Logical operators
The logical operators can be used to combine media type and media features together. They can also be used to create complex @media queries. Some of the logical operators used include:
and operator – This operator is used to join media type and media features together. It also joins multiple media features together. The implication of an and operator is that all media categories concerned must be TRUE for the @media query to execute.
Example
@media screen and (max-width: 768px){
  section{
    color: #00ff63;
    font-size: 14px;
    }
  div{
    display: block;
    width: 100%
    }
}
This example indicates that the media type is screen while the media feature is the width. Hence, for the query to execute, the user’s device screen size must be less than or equal to 768px. Therefore, the example is used to target smartphones. Thus, the and operator ensures that the media type is screen which size MUST NOT exceed 768px.
not operator – This operator is used to execute the opposite of @media query. The not operator turns a TRUE query to FALSE and a FALSE query to TRUE.
Example
@media screen not (min-width: 768px){
  section{
    color: #00ff63;
    font-size: 14px
    }
}
This example implies that the query will evaluate if the min-width of the device’s viewport is NOT 768px. In other words, it applies to devices whose viewport is less than 768px.
only operator – when this operator is used, a media type must be specified. The only operator is used to apply CSS style when an entire query matches.
Example
@media only screen and (max-width: 768px){
  article{
    width: 90%;
    float: none;
    background-color: gray;
    }
}
This query will execute only if the entire query matches. That is, target device screen must be less than 768px.
“,” (comma) operator – This operator works like an or operator. It is used to combine media types or combine separate queries as one. When the “,” operator is used, any of the queries that are true are evaluated.
Example
@media screen and (min-height: 480px), screen and (orientation: landscape){
  article{
    width: 90%;
    float: none;
    background-color: gray;
    }
}
This means that either of the two queries can be executed if true. If the media type is screen and has a minimum height of 480px, the style will be applied. Similarly, if the media type is screen and has an orientation of landscape. The query will also be executed.
Media Query Breakpoint and Responsive Web Design
The HTML and CSS code in the JSFiddle platform below is used to illustrate the normal website that is not responsive. You can copy it to your editor and test to see that it is not responsive.
Let us try to resize the above window to adjust the viewport. The output will look horrible. Text and image will combine together so that you cannot read through the website.
Notice also that the contents overflowed its container as well as overlapped each other.
However, we can add media query breakpoint to make our website responsive. To use media query breakpoint when creating a responsive website, we adjust our code above as shown below. using JSFiddle.
To make our site above responsive, we shall add the following CSS using @media rule as follow:
You can copy the codes to your editor and save the CSS and refresh your browser. Then try resizing the browser window again, you will notice that the site will quickly adjust depending on the viewport.
You can create more complex media query that responds to different viewports. This you can easily do by following the above procedure, but specifying the different viewports.
The important part is to look at the contents you want adjusted when viewport changes. If you are able to know this, you have learnt how to build a responsive website using media query breakpoint.
Using the @import at-rule
We can also create a media query using the @import at-rule set. We use the @import to import a stylesheet that has styles for different media.
It is important to note that when using the @import, we must specify the @import statements at the beginning of the stylesheet.
For example:
@import url(‘styles/media.css’) only screen and (min-width: 500px); /* This will take care of styling for media query breakpoint for devices that has viewport equal to or greater than 500px. That is, it takes care of bigger phones, tablets, and desktops. */

@import url(‘styles/mediamax.css’) screen and (max-width: 500) and (orientation: portrait);  /* This will take care of the styling for media query breakpoint for devices that has viewport equal to or less than 500px. That is, it takes care of smaller phones. But the orientation must be portrait. */

html{

     margin: 0;

     padding: 10px;

}

h1{
  font-size: 180%
}

hgroup div{

     height: 200px;

     background: url("47.jpg");

     color: #ffffff;

}

hgroup h2{

     font-size: 38px;

}

hgroup p{

     width: 70%;

     text-align: center;

     font-size: 20px;

     margin: auto;
}
The imported stylesheet contains the styles that will be applied to the devices based on their specification.
This is where we will stop in creating responsive web design using media query breakpoint. You can learn more by taking the full course here.
Next, we will discuss web fonts.


